Category Archives: Uncategorized

From the Studio – Etching!

Next weekend we’re hosting a super fun Weekend Workshop on Etching!

Saturday + Sunday | Jun 25+26 |11am-5pm | $240 | Register Now!

In this two day weekend workshop students will discover how to create raised patterns in metal without using any special equipment!  You’ll learn how to transfer images onto metal to etch a variety designs using a low toxic and safe method.  Etching is the process of using chemicals to cut a design or pattern into a metal surface. Etching your own designs into metal is a fun and rewarding way to customize your jewelry!

Class covers a variety of resist processes including ink transfer techniques and free hand solutions. We will also be covering basic metalsmithing techniques like drilling, filing, refining, and a variety of polishing and sealing methods, so this class is open to beginners as well as intermediate and advanced students.

Extra materials will be provided.

We spent a little time in the studio perfecting the technique this week, here’s some fun action shots:

This slideshow requires JavaScript.

Here’s the pieces after they’ve come out:

And here’s a couple styles of the final products!

This slideshow requires JavaScript.


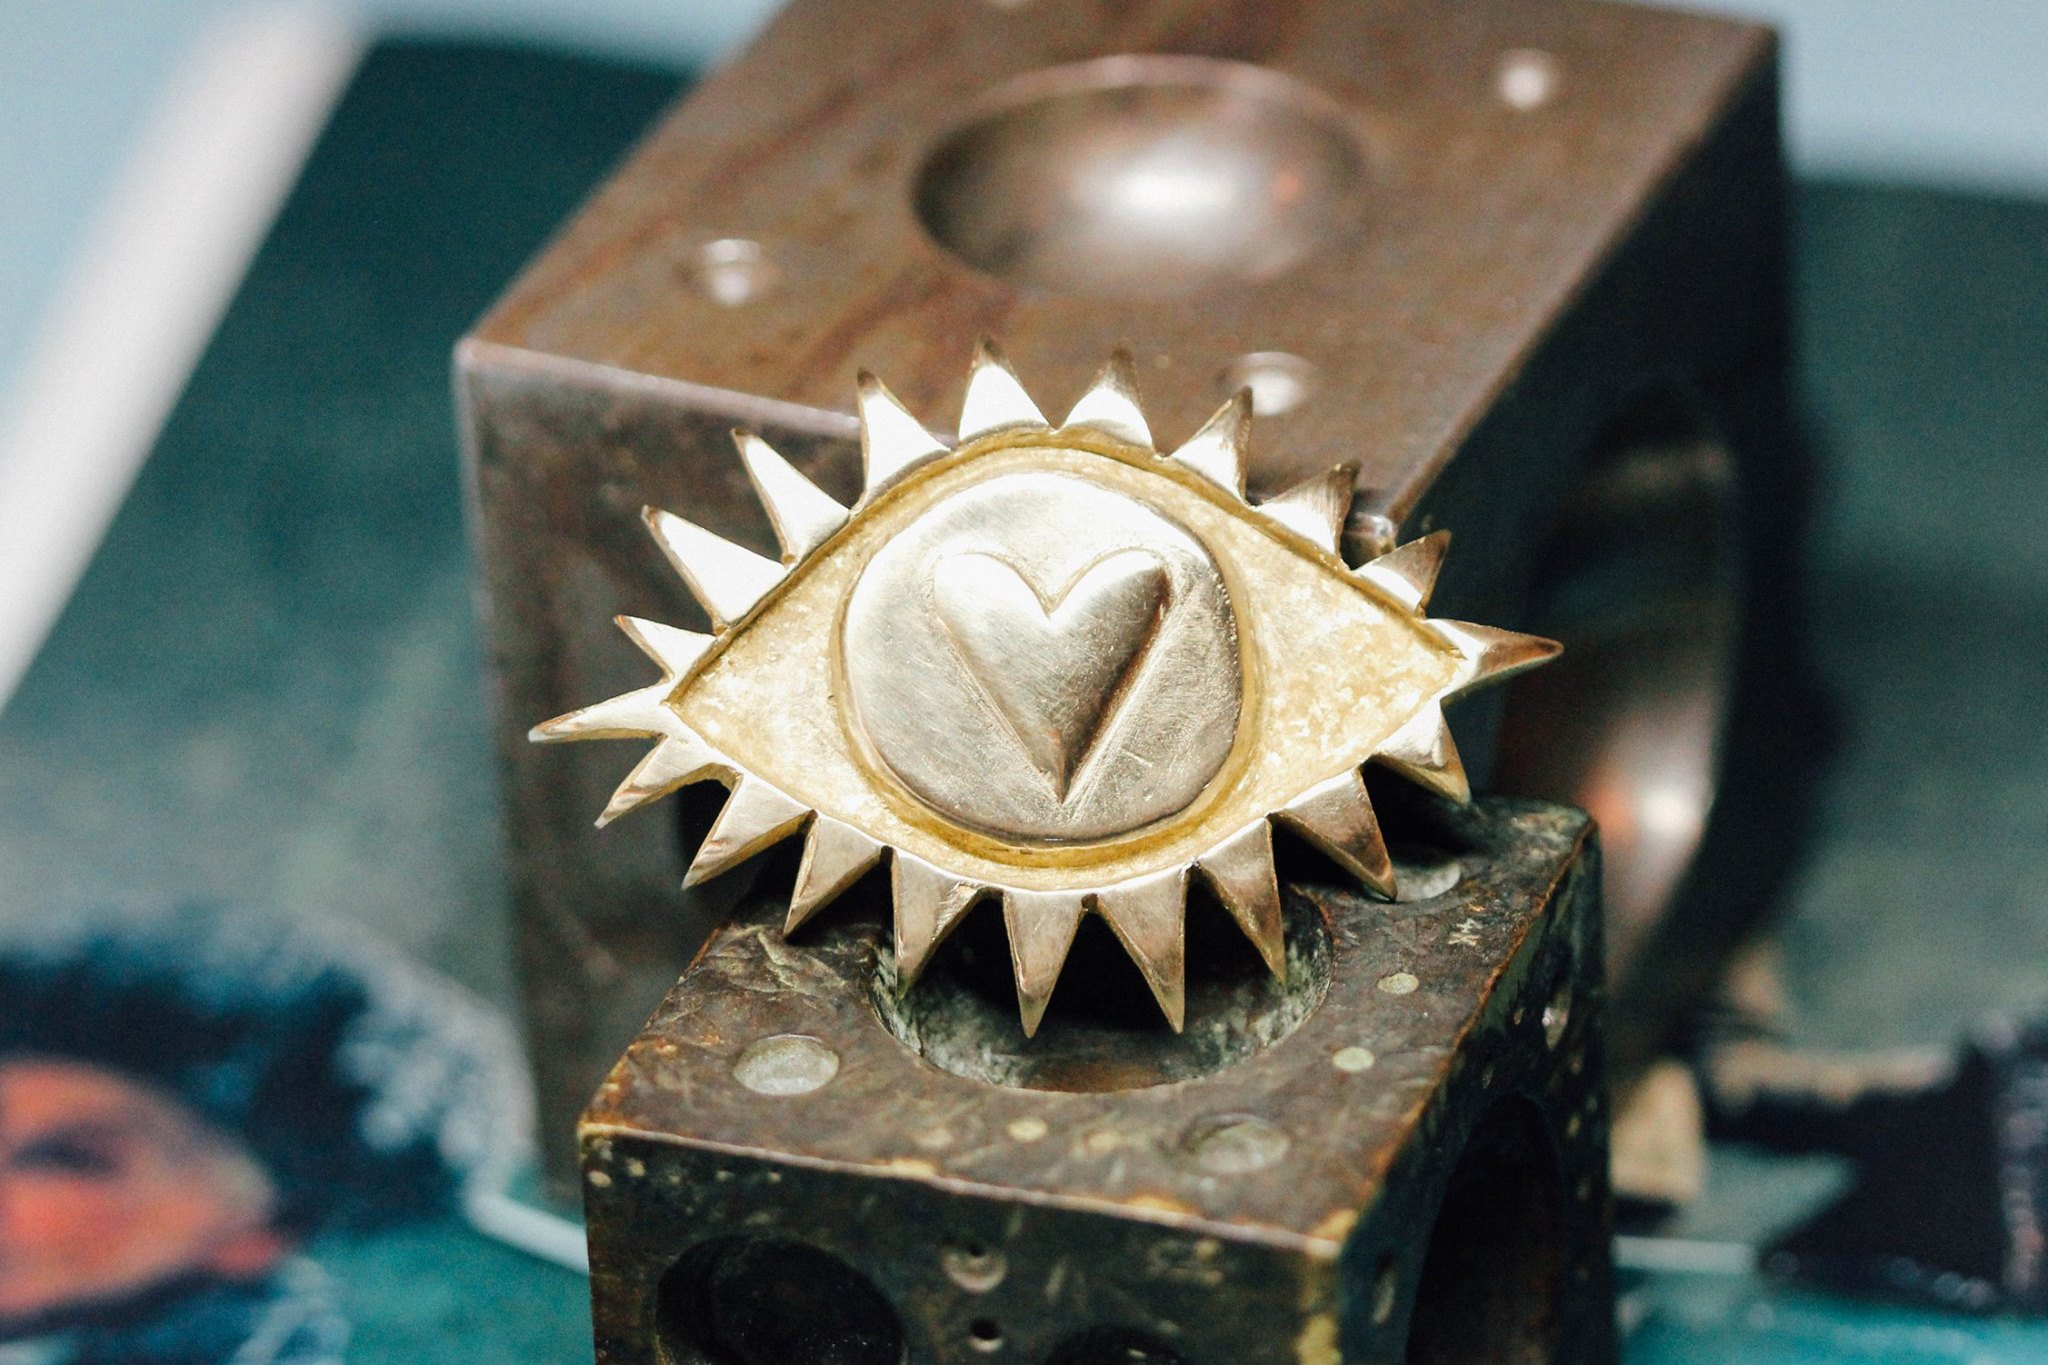
From the Studio – Salt Casting!

This weekend we’re hosting a super fun one day workshop on Salt Casting!

Saturday | Jun 11 |11am-5pm | $179 | Register Now!

Salt Casting is the art of melting metal to its molten form and then pouring it over salt. This creates spontaneous forms and unusual shapes. In this workshop we learn how to recycle metal, create many different alloys, pour metal into different forms, and fabricate jewelry out of the salt cast pieces.  Your old jewelry and scraps (gold, silver, copper) can be cast into new and wondrous forms. The salt cast pieces can be made into earrings, pendants, and pins during the workshop. Extra materials will be provided.

We spent a little time in the studio perfecting the technique this week, here’s some fun action shots:

This slideshow requires JavaScript.

Here’s the pieces after they’ve come out:

Studio trials pieces 1b

And here’s the final products!

This slideshow requires JavaScript.


#Benchtip Tuesday! Resizing Rings with our New Ring Stretcher

When you’re in the business of producing handmade jewelry, time is just as valuable as money. Because of this we get really really excited about new tools that will reduce the amount of time it takes to do something. Like REALLY excited.
We recently picked up a ring stretcher/reducer and it has definitely lived up to the hype. It’s not the most inexpensive tool, however if you factor in the time you save, it’ll start paying for itself pretty quickly.
 ring resizer
Working with the Ring Resizer is pretty intuitive, however here are some tips to help you get up to speed.
-This tool only works with plain bands, such as wedding bands with no gemstones
-Always anneal your piece before stretching/reducing! You’ll want to fire coat your piece to protect the finish: brush on flux and heat the piece with a low soft flame until it starts to anneal or glow slightly red. Quench and pickle to remove the boric acid coating
-Don’t stretch or reduce too quickly – you may crack the metal
-always anneal between sessions
For reducing:
-place the ring in the circle that’s just slightly too small – the ring should sit slightly above. Push on the arm to squish it down, turn over the ring and repeat the process
ring resizer2
For enlarging
-Layering a piece of paper on the inside of the band prior to putting it on the enlarging mandrel helps to reduce the stretching marks on the inside of the ring. Saves you time during clean up.

Student Spotlight: Michaela Turley of Mijatu

Michaela Turley is the designer and maker behind small jewelry brand, Mijatu. Working out of her home studio in New York City, she originally came from the sunny shores of Australia where she was constantly surrounded, and ultimately influenced by the strength and natural beauty of the environment around her.

LJS: What’s your background? How did you get into jewelry making, and when?

MT:  I actually work in advertising, which whilst useful in some ways, is not at all related to using my hands with making jewelry! After recently moving to New York from Australia two years ago, I was looking for a hobby – stumbled across a jewelry making class and have become just slightly addicted since!

LJS: Describe your process, from inspiration to final product. Do you draw a design first or do you just start creating? Is it different everytime?

Michaela TurleyT:  I utilize the lost wax process in creating all of my work, which suits the fluidity of my designs. My inspiration comes from nature, and it’s ability to create beauty from the smallest of details. I first sketch out the overall look of my design, usually with a few alternatives and then try to draw out a couple of other designs in other forms (such as a necklace or earrings if I’m starting with a ring) that builds out a potential line. If I’m happy with the overall look and feel, then I will jump straight into creating. The great thing with working with wax is that it can evolve as you are creating, which often means that the end result is usually a little different to my original sketch – but that’s what I think makes the design better, it evolves to where it needs to be, rather than constricting the design to a one dimensional sketch.

LJS: Do you ever hit creative road blocks? How do you remedy that?

MT: Yes! I think that’s what makes the process, and the design better. I welcome them, because once overcome, it makes me feel like the design is even better. When I do have them, I often flick back through my sketchbook – sometimes the answer has already been discovered, it’s just in a different form, or design.

LJS: What’s your favorite piece you’ve ever made?

MT:  My favorite piece to wear is my circle necklace and matching circle studs in 14K gold – I carved each circle by hand and I love how effortless and simple they are. That being said, I am very proud of my Stella ring – it has an art deco feel to it and took a very long time to carve, but it’s intricateness is something that is very eye catching on.

circle pendant mijatu circle stud mijatu

LJS: What class(es) have you taken at Liloveve?

MT:  Bezel Setting & Prong Setting

LJS: If you could collaborate with another designer/artist, who would it be and why?

MT:  I would love to do a collaboration with small, emerging nature photographers like Vivian Chen – a lot of my designs are inspired by nature and the way they are able to capture raw yet beautiful elements is very inspirational.

LJS: Where do you exhibit / sell your work?

www.mijatu.com


This slideshow requires JavaScript.


Student Spotlight: Jennifer Dunham

LJS: What’s your background? How did you get into jewelry making, and when?

JD:  While working a corporate fashion job, I was looking for something to put more creative energy into. I wanted to start my own business and find more fulfillment in my work- It wasn’t until Sept/Nov 2015 where the medium became jewelry. I took the silver ring making intensive (admittedly, after a breakup) and was hooked from that point on!

LJS: Describe your process, from inspiration to final product. Do you draw a design first or do you just start creating? Is it different everytime?

JD:  I’m most inspired by natural forms. I have a textile background so I tend to think of a sheet of silver as a muslin. I create jewelry much the same way- sometimes it’s “flat pattern” where I measure carefully before cutting. Other times it’s like draping techniques. I just start bending the metal and let it do something fun for me. I often draw before, but the process to the end result varies.

LJS: Do you ever hit creative road blocks? How do you remedy that?

JD:  The creativity abounds on paper! More often than not I hit the road blocks in practice. Problems always lie in our expectations, right? I think the metal sheet or wire wants to play with me and be cooperative…but that’s not always the case. Fair enough, I was torching it with 1500+ degrees, I get it. The remedy for me is always to take a breather. Put it aside and come back to it when I’m not frustrated.

LJS: What’s your favorite piece you’ve ever made?

JD:  I made an earring in the Hoops & Studs intensive that I call “the wave earring”. This is the perfect example of my ideal process- The sketch happened, the “pattern” cut out and the bending all came together very quickly and effortlessly. The process was almost as enjoyable as the end product and that, my friends, is magic.

IMG_2339.JPG

LJS: What class(es) have you taken at Liloveve?

JD:  Silver Ring intensive, Intro to Silversmithing, Wax I, Hoops & Studs, and am currently enrolled in Wax II – Stone Setting

LJS: If you could collaborate with another designer/artist, who would it be and why?

JD:  I partnered with my dad to start the business and he’s very artistic and animated so that’s been really fun– as for a more “third party” artist…I think I’d have my little eye on a collaboration with Phetus. Check him out on Insta @phetus88 – I love how sweet and funny his monsters look! Wouldn’t it be cool to do some kind of micro-machines wearable version?? We’ll get there 🙂

LJS: Where do you exhibit / sell your work?

JD:  My dad and I have been hiding our wares out in Tulsa, Oklahoma – trying out protos and getting our bearings on a production level, but we are aiming for an April 21 website launch. I am planning on showing in NY within the next couple months so keep a lookout!

I encourage all to subscribe to our mailing list to get the first look before public launch 4/21 at http://www.shopjenniferdunham.com

of course we’re on facebook at https://www.facebook.com/shopjenniferdunham/

and our insta is @shopjenniferdunham

This slideshow requires JavaScript.


Class Spotlight! The Amazing World of Wax Carving

Spring classes are starting soon!  Intro to Wax Carving is a fantastic class to get your feet wet in this versatile medium!

You may ask What is Wax Carving?

Well, the art of wax carving dates back all the way to 3500 BCE!  Probably even earlier!  Ancient civilizations used the beeswax that had been leftover from harvesting honey to sculpt interesting forms, mostly depictions of animals and gods.  Today we have many different types of jewelers carving wax, each kind having its own special properties.  Carving wax is a wonderful technique for creating jewelry. Intricate details can be created in wax that you can’t achieve in metal. We are essentially making mini-sculptures, using  additive and / or subtractive techniques.

In this 6-week class we explore how to build up wax, carve and file it away at it to reveal a design.  Wax is extremely forgiving & versatile and can be used to make rings, pendants, bracelets, earrings or any other small object.  You’ll start off by making a ring for the first project and then a pendant for the second.  Students are encouraged to explore the wax as a medium as well as be challenged as designers by the instructor.   You can design, experiment, play, and create with the inexpensive wax until you get your piece just right.

We include a tour of the jewelry district and a complete list of trade references and supplier resources to provide the new student with a full introduction to the jewelry industry. Small class sizes are perfect for both beginners or those looking to refresh their wax carving skills. You don’t need any jewelry knowledge to take this class – absolute beginners welcome!

for all the class details check it out here!

Mar 23rd – May 4th  (no class 3/30) | $450 | Wednesdays| 6-9pm | wax included + tool list | Register Now!

here’s a fun slide show of our last classes finished projects, get inspired!

This slideshow requires JavaScript.

Student Spotlight: Huan Wang of Jewelyrie

LJS: What’s your background? How did you get into jewelry making, and when?

HW: I have been a stay home mom ever since one year after I graduated from prestigious Parson’s school of design, I wanted to be a top notch high end fashion designer back then. Instead I spent the past 20 years build my family, I have 3 beautiful kids, and loving husband. Somewhere along the way I found out that my love was in metal, not fabric. It started when I was browsing Ebay back in 2007 and was fascinated with all the jewelries and with not much money in my hand to indulge my new obsession, I purchased a piece of handmade necklace, made by the seller, a necklace of multi-link opaque freckled earth tone square stones with hand cut grove all around and wire wrapping that fit in the grove and some wire pattern that later I found out were made by using a tool called jig. This the very first piece of jewelry that inspired me to start making my own, because I said to myself, I’m not gonna spend rest of my life drooling over my expensive obsession and get torn inside because I wouldn’t be able to afford it. So I came to a solution: I’ll make my own jewelry. After I tried to bend a piece of silver wire, and ball up the tip with a butane torch, I could never stop.

LJS: Describe your process, from inspiration to final product. Do you draw a design first or do you just start creating? Is it different everytime?

HW: I’ve been selling what I created on Etsy for 8 years and recently shifted direction to go pro and do wholesale. So the design process is very different before and after. But either way my inspiration is alway technique driven. Before, I make whatever I want to, randomly. Through out the years I’ve alway been self teaching, so Etsy became a great platform for me to learn, practice, and sell what I created. When I wanted to test out a new technique, I usually do lots of research and then I came up with what I wanted to do. I never sketched out ideas, just picked up my silver stock and start working, and I’ll say it’s the working process that inspired and guided me, and I let the design take shape gradually, step by step. It’s a painful process because some time it take lots of attempts, but I work till I can please myself. Now with enough skills and techniques to deliver the designs that’s truly original, I design with much clear direction, I plan out the whole collection before I start working. I will focus on one design detail and expand that concept to the whole collection, and I found its a very good way to keep your design cohesive.

LJS: Do you ever hit creative road blocks? How do you remedy that?

HW: This also has a before and after difference. Before when I sell on Etsy, I got creative road blocks all the time!! Main reason was lack of design direction, and also because of the mindset that I wanted my creation to be different. What I did was I had to see a lot, and I slept on it, and eventually I would get a light bulb. For now, I feel that I’ll never run out design idea! I already have 5 or 6 collections sketched out and only waiting to be turned into reality! I can’t wait! But I constantly look back to my random pieces I made before, because there were lots of originality in those earlier creation and I believe I can further expand and explore and turn those into collections.

LJS: What’s your favorite piece you’ve ever made?

HW: My favorite pieces I’ve ever made are very often the last piece I created. That makes me want to create me more. My favorite piece for now is the first project we did in the Introduce to Wax Carving class with Kate. It’s the biggest ring I’ve ever made, carved out in wax first then casted in silver. I had no idea what to make at the beginning, simply follow along the process until 30 minute before the session about to be done, I got the light bulb, and start carving these stripes and dents all around the ring. It turned out great. I was lucky I got it done on time. And now I want to explore more on that and work on a collection base on the same concept.

LJS: What class(es) have you taken at Liloveve?

HW: I took Introduction to Wax Carving class with Kate, and the Business for Designers workshop with Caroline.

LJS: If you could collaborate with another designer/artist, who would it be and why?

HW: I would love to collaborate with Jeanette K. Caines. I have been an admirer for years, and I’ve been saving money to take her classes! I’m fascinated with her intricate fusing and granulation on high karat gold technique. I’m more into metal smithing than stones I think that’s why!

LJS: Where do you exhibit / sell your work?

HW:  You can view my work at wholesalecraft.com and my artist number is 28587. I will be also showing my latest collection and expecting 1 or 2 more collections.  I’ll be in JA New York March show at the Jacob Javits Center.

Website: http://www.jewelyrie.com 

Facebook: facebook.com/jewelyrie

Instagram: instagram.com/Jewelyrie

This slideshow requires JavaScript.

Class Spotlight: Bezel Setting!

Join us this weekend for a great foundation class in stone setting!

blog bezelblog bezel2

This Saturday and Sunday, Dec 12 + 13,  11am-5:30pm Register Now!

The bezel setting is the earliest method for setting gemstones into jewelry – and hasn’t changed much over the last few thousands years. To create a bezel, you take a piece of metal and fabricate it to the size and shape of the outside of the stone. You then place the stone inside the bezel and push the metal over the top the stone.

Bezels are a simple, clean and secure approach to setting gemstones. They keep your gem safe and clean from dirt and don’t catch clothing.


Class Spotlight – Gold Workshop!

We have an awesome workshop coming up this weekend, Gold!

Sat + Sun ~ Nov 7 + 8 ~ 11am-5:30pm  there’s only a couple seats left, Register now!

In this exciting 2-day workshop you’ll be creating either a set of stacking rings, a ring with a bezel set stone, or earrings with set stones.  If you have experience in metalsmithing but not in gold, this is a great opportunity to get your feet wet and have your very own hand-made piece of finished gold jewelry!  Check out some of our previous students work below:

This slideshow requires JavaScript.

#BENCHTIPTUESDAY!


At our class this Saturday July 11th JEWELRY PHOTOGRAPHY WITH YOUR PHONE, we will be teaching many pro tips to save you lots of money and resources while displaying your pieces at their best. Today, the one taster tip we will give is to always have the grid feature on when taking jewelry shots. This feature will help you center and frame your picture properly- symmetry leads to aesthetically better photos. See picture below. Click here to sign up for this one day intensive (this Saturday) taught by professional photographer Nicholas Papadakis and learn many more skillful pro tips to help in this very important part of marketing your jewelry.

guide-photo-grid1Grass_layout_2012_R2_LR (1) Nick Papadakis