Tag Archives: DIY

Class Spotlight: Perfect Pendants!

Stand out from the crowd with a truly unique custom pendant of your very own design!

Saturday + Sunday | July  16 + 17 | 11am-5:00pm | $240 | Register Now!

In this weekend workshop we’ll be exploring different styles and techniques to create your Perfect Pendant.  Learn to construct bezel settings for cabochon, faceted gemstones, and fancy shaped stones.  Working with sterling silver, we use hammer and stamps, as well as high polish, and oxidized finishes to accentuate textures and highlight designs. Students may bring their own stones or purchase from the tutor’s collection. Materials are provided.

Check out some of our students amazing work!!!


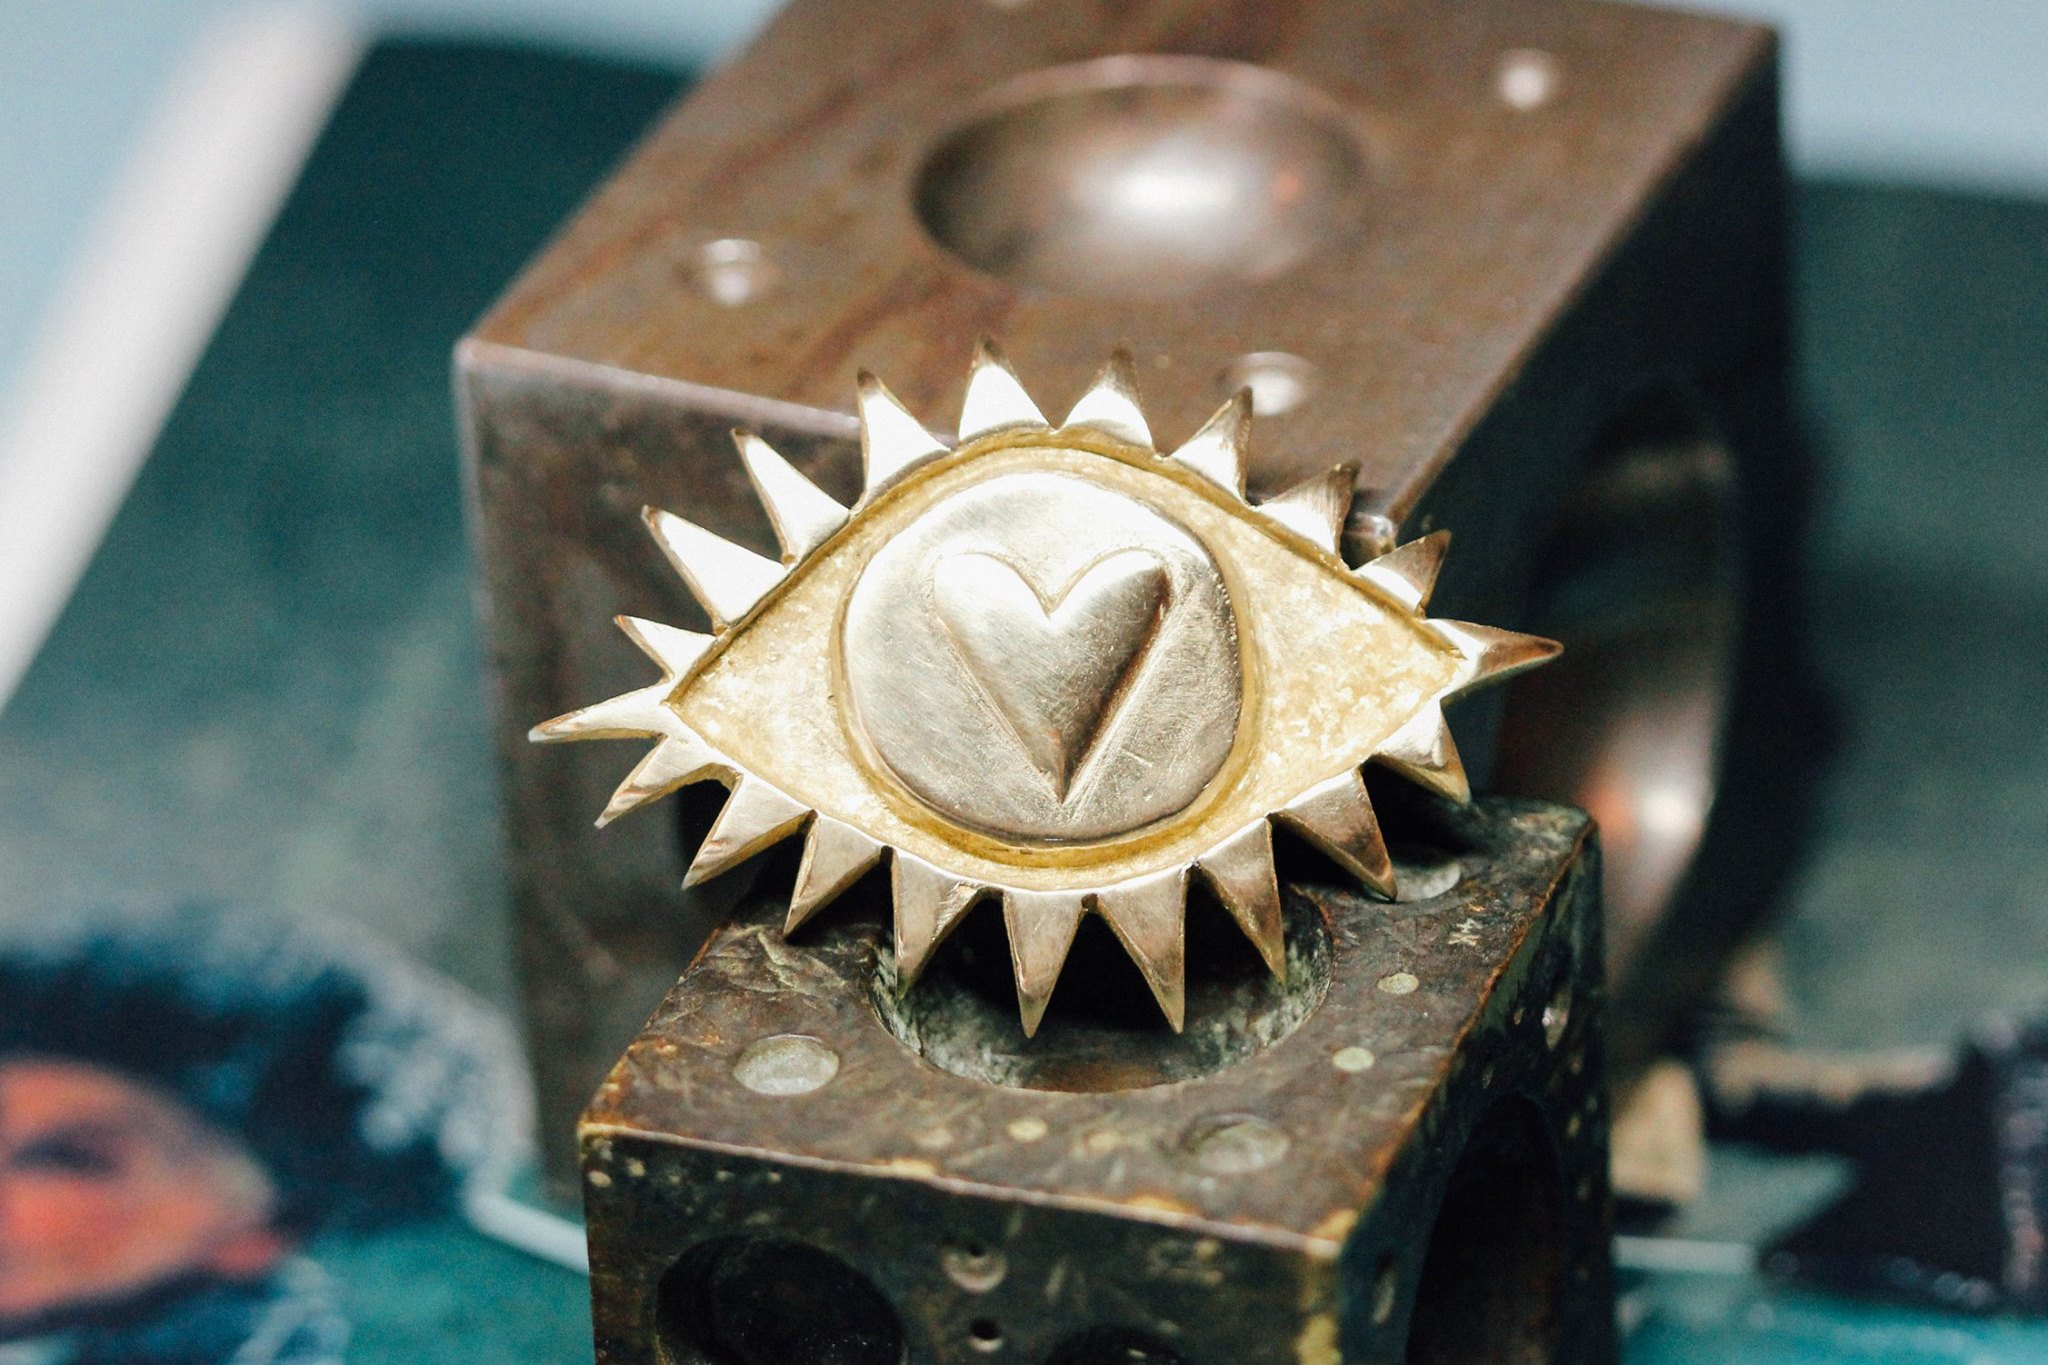
From the Studio – Etching!

Next weekend we’re hosting a super fun Weekend Workshop on Etching!

Saturday + Sunday | Jun 25+26 |11am-5pm | $240 | Register Now!

In this two day weekend workshop students will discover how to create raised patterns in metal without using any special equipment!  You’ll learn how to transfer images onto metal to etch a variety designs using a low toxic and safe method.  Etching is the process of using chemicals to cut a design or pattern into a metal surface. Etching your own designs into metal is a fun and rewarding way to customize your jewelry!

Class covers a variety of resist processes including ink transfer techniques and free hand solutions. We will also be covering basic metalsmithing techniques like drilling, filing, refining, and a variety of polishing and sealing methods, so this class is open to beginners as well as intermediate and advanced students.

Extra materials will be provided.

We spent a little time in the studio perfecting the technique this week, here’s some fun action shots:

This slideshow requires JavaScript.

Here’s the pieces after they’ve come out:

And here’s a couple styles of the final products!

This slideshow requires JavaScript.


From the Studio – Salt Casting!

This weekend we’re hosting a super fun one day workshop on Salt Casting!

Saturday | Jun 11 |11am-5pm | $179 | Register Now!

Salt Casting is the art of melting metal to its molten form and then pouring it over salt. This creates spontaneous forms and unusual shapes. In this workshop we learn how to recycle metal, create many different alloys, pour metal into different forms, and fabricate jewelry out of the salt cast pieces.  Your old jewelry and scraps (gold, silver, copper) can be cast into new and wondrous forms. The salt cast pieces can be made into earrings, pendants, and pins during the workshop. Extra materials will be provided.

We spent a little time in the studio perfecting the technique this week, here’s some fun action shots:

This slideshow requires JavaScript.

Here’s the pieces after they’ve come out:

Studio trials pieces 1b

And here’s the final products!

This slideshow requires JavaScript.


Class Spotlight! The Amazing World of Wax Carving

Spring classes are starting soon!  Intro to Wax Carving is a fantastic class to get your feet wet in this versatile medium!

You may ask What is Wax Carving?

Well, the art of wax carving dates back all the way to 3500 BCE!  Probably even earlier!  Ancient civilizations used the beeswax that had been leftover from harvesting honey to sculpt interesting forms, mostly depictions of animals and gods.  Today we have many different types of jewelers carving wax, each kind having its own special properties.  Carving wax is a wonderful technique for creating jewelry. Intricate details can be created in wax that you can’t achieve in metal. We are essentially making mini-sculptures, using  additive and / or subtractive techniques.

In this 6-week class we explore how to build up wax, carve and file it away at it to reveal a design.  Wax is extremely forgiving & versatile and can be used to make rings, pendants, bracelets, earrings or any other small object.  You’ll start off by making a ring for the first project and then a pendant for the second.  Students are encouraged to explore the wax as a medium as well as be challenged as designers by the instructor.   You can design, experiment, play, and create with the inexpensive wax until you get your piece just right.

We include a tour of the jewelry district and a complete list of trade references and supplier resources to provide the new student with a full introduction to the jewelry industry. Small class sizes are perfect for both beginners or those looking to refresh their wax carving skills. You don’t need any jewelry knowledge to take this class – absolute beginners welcome!

for all the class details check it out here!

Mar 23rd – May 4th  (no class 3/30) | $450 | Wednesdays| 6-9pm | wax included + tool list | Register Now!

here’s a fun slide show of our last classes finished projects, get inspired!

This slideshow requires JavaScript.

#benchtiptuesday – How to Carve Small Ring Sizes in Wax

A common question we get in the studio is how to size a wax ring for very small sizes. Most ring blanks come in a size 5 – so that pinky ring you’ve always wanted to make will require just a few more steps than your average ring.

How to Carve Small Ring Sizes in Wax

Suggested tools

Suggested tools

1. Starting with a solid wax tube in the color of your preference, cut out a ring blank to your desired width and evenly file the sides.

1. Starting with a solid wax tube in the color of your preference, cut out a ring blank to your desired width and evenly file the sides.

2. Measure the width of your ring blank.

2. Measure the width of your ring blank.

3. Figure out the middle point by dividing the diameter by two and marking that point with a scribe.

3. Figure out the middle point by dividing the width, or diameter, by two and marking that point with a scribe.

4. Make a bulls eye

4. Make a bulls eye

5. Using a drill bit and your flex shaft, drill a hole where the lines intersect (don't forget your safety glasses when operating your hand drill or flex shaft!).

5. Using a drill bit and your flex shaft, drill a hole where the lines intersect (don’t forget your safety glasses when operating your hand drill or flex shaft!).

After drilling.

After drilling.

6. Widen the hole using a wax bur.

6. Widen the hole using a wax bur.

I like to do this holding the flex shaft perpendicular to the wax blank. Always hold onto your piece while drilling.

I like to do this holding the flex shaft perpendicular to the wax blank. Always hold onto your piece while drilling.

7. Continue to widen the hole more with the same wax bur, or a cylinder bur.

7. Continue to widen the hole more with the same wax bur, or a cylinder bur.

I like to make small and gentle circles on the inside of the hole with the bur to slowly widen it.

I like to make small and gentle circles on the inside of the hole with the bur to slowly open it up.

8. Using a ring mandrel, continuously check your work while opening up the size. Make sure to push the piece gently down the mandrel to ensure accurate sizing.

8. Using a ring mandrel, continuously check your work while opening up the inside. Make sure to push the piece gently down the mandrel to ensure accurate sizing.

Et Voila! A size 2 ring for a pinky ring or otherwise teeny tiny hands! Learn more wax carving techniques in our in 6 week wax class listed here.