
If you’ve ever used hammers to texture your jewelry pieces, you know that any scratch or mark left on a hammer will, most often frustratingly, be left in the metal. While this theory does often lead to cursing and hair pulling, it can also be used to your advantage. You can deliberately roughen your hammer faces and even cut deep grooves and patterns into it, in order to make your own custom texture hammers. All you need are a few simple tools- a flex shaft, files, and sandpaper.

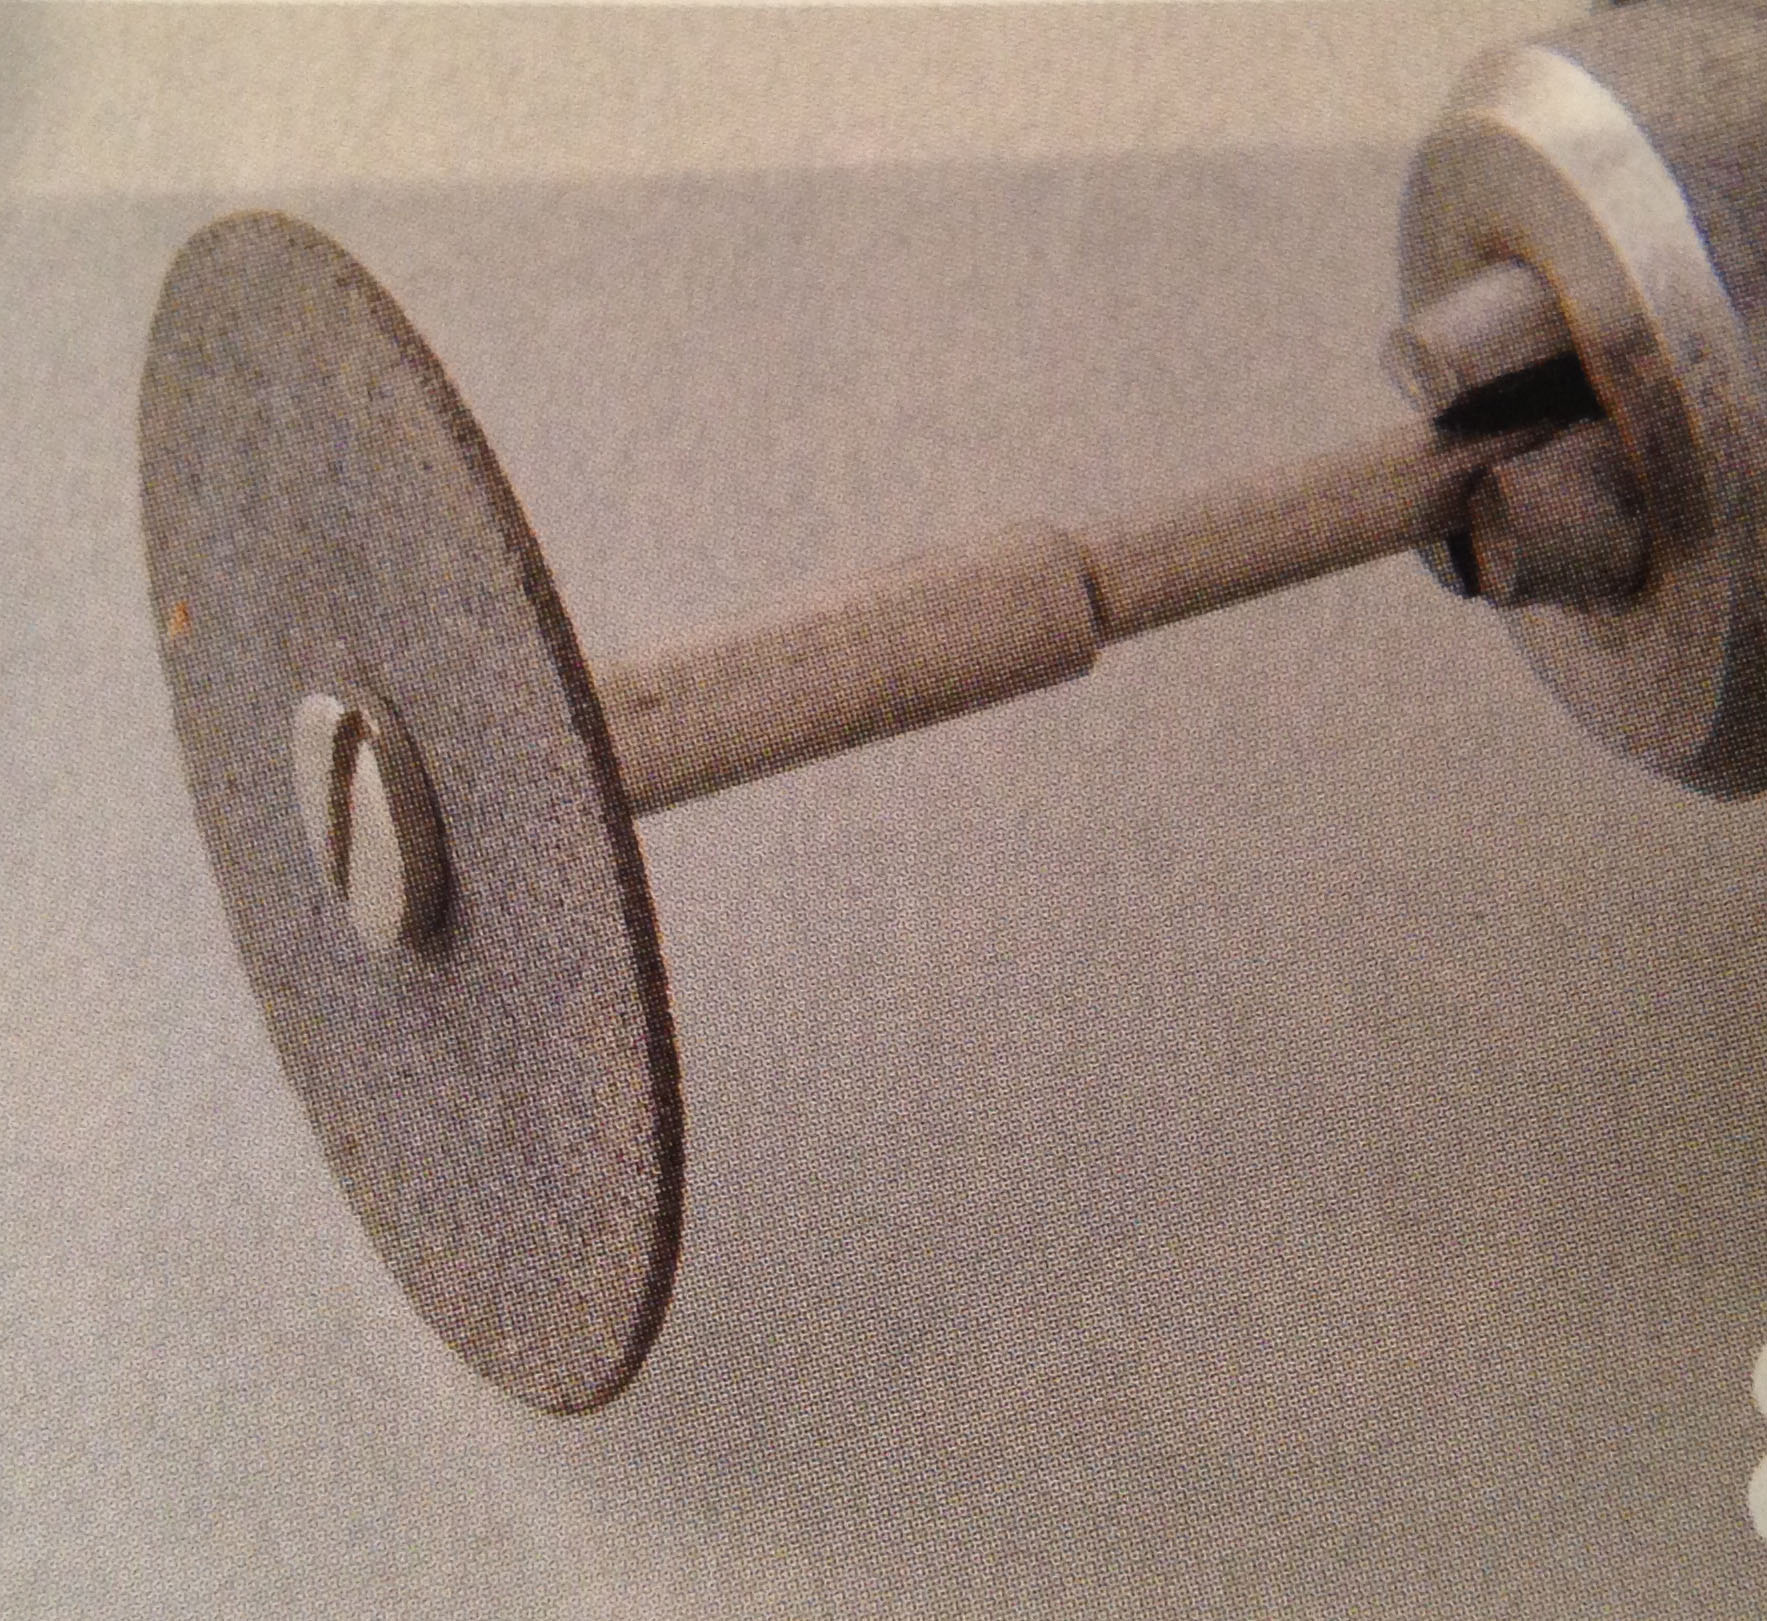
photo source: Art Jewelry Magazine
1. Saw, file, or grind a pattern on the hammer face. Most texture hammers have flat faces with a subtle or complex pattern. You use these almost like a stamp, bringing the face straight down on the metal, avoiding overlapping strikes. You can transform a flat mild steel hammer into a texture hammer by using coarse (#2-8) saw blades, files, drill bits, or separation disks to make patterns on your hammer’s face.
Mount one separating disk on a screw mandrel with a washer below the disk. Tighten the mandrel in your flex shaft, and use a medium-to-high speed to carve a line in your hammer face. Once you carve one line you can carve more- parallel lines, perpendicular lines, checkerboard patterns, short and long lines to make random patterns, or try dipping the disk into the steel repeatedly to form a fur-like texture.


photo source: Art Jewelry Magazine
NOTE: Make sure that your carving or cutting doesn’t wear down one side of the hammer face more than the other, this will create unclear textures.
2. Sand the texture. If you choose to create a more defined pattern, you’ll want to sand the high points with a 600 grit sandpaper, so that your hammer will burnish your metal at those points as you hammer. Load a split mandrel with sandpaper strips, and sand the face until even.
3. Buff the texture. Though this step is optional, the more you polish your hammer, the more your hammer will burnish your metal. Charge a felt buff with polishing compound and and buff to a smooth polish. Now you have your own custom-made texture hammer which you can use to create your own textured pieces.

Want to learn to make your own textured bangles? Check out one of our upcoming Bangle Bracelet workshops!
Leave a Reply